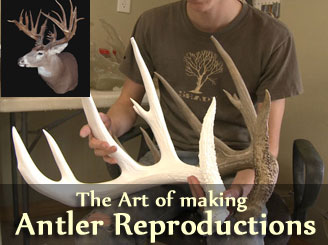
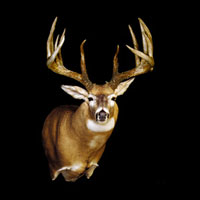
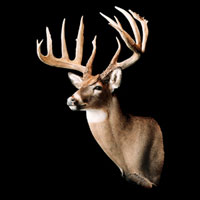
When Matt Rehor (the son of Bowsite's Charlie Rehor) took a 216" buck with his bow in Illinois, they both knew he had done something extraordinary. As a token of their appreciation to their friend and landowner they wanted to give him a priceless gift for his lodge, a reproduction of Matt's 200+ buck. Charlie, like most of us, know about reproductions but had no idea where to start or how the process works. As usual, the answer was found right here on Bowsite and Charlie kept hearing one companied referred to over and over again; and that was Klaus Lebrecht of Classic Antlers. Along with his son Dieter, Klaus made a mould of Matt's buck and returned to Charlie an exact reproduction - right down the beading and the coloring. Charlie presented that special gift to his grateful landowner and Matt's buck now holds a place of honor in that landowner's lodge.
As Charlie and I kept in touch throughout the process, I thought it would be a unique and fascinating feature to show you all, step by step, the process of making antler reproductions. As I had expected, this is far more art than craft and certainly not something anyone could do at home. Klaus is as much a trained artist and absolutely skilled at his craft.
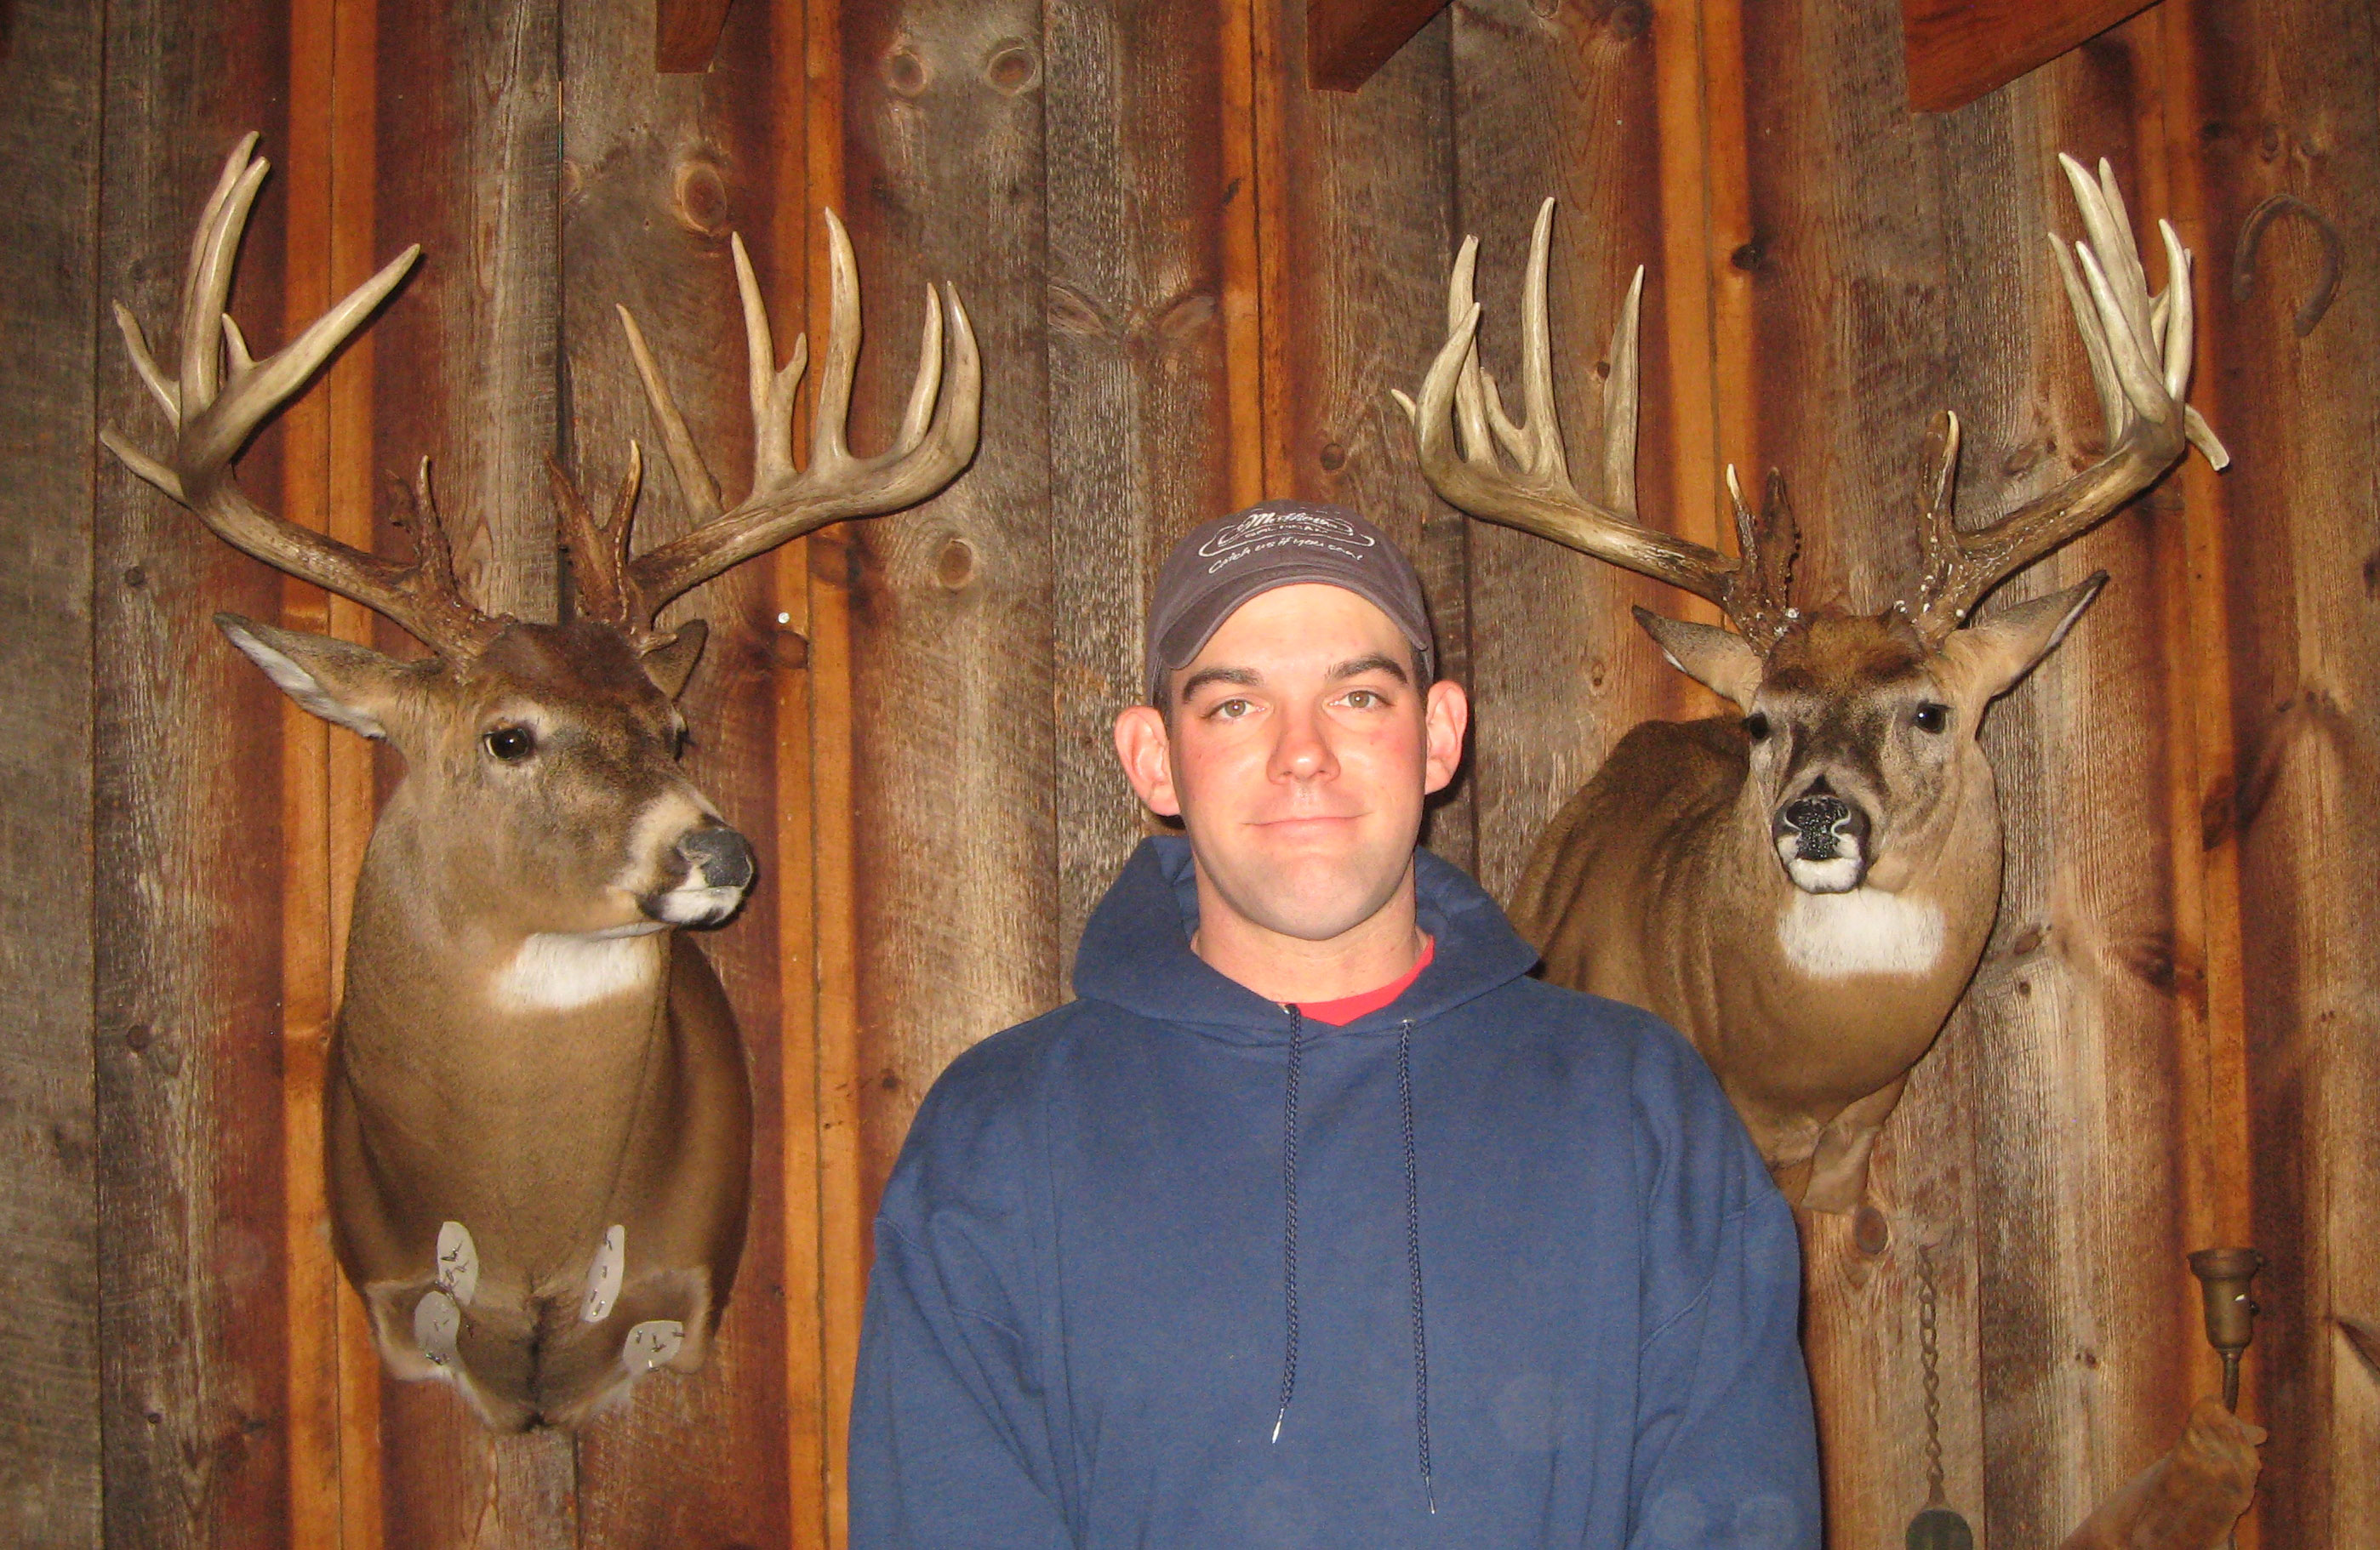
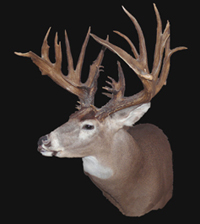
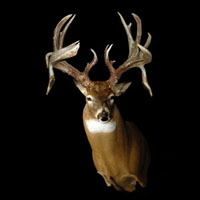
Klaus Lebrecht, the owner of Classic Antlers, is a master at the Art of reproductions. This is just a tiny sample of some of the bucks reproduced by Klaus and his son over the years. While most of his business is dedicated to reproducing and repairing incredible racks taken by hunters, they also reproduce sheds and picked up deer as well. Many of these reproductions are for sale to collectors and people who are awed by the sight of a 200+ inch whitetail or mulie. Check out their entire collection online. You will be amazed at the collection.
The Process of Antler Reproductions
We asked Klaus if he would show you the process for recreating antlers. It is both fascinating and impressive combination of ingenuity and Artistry.
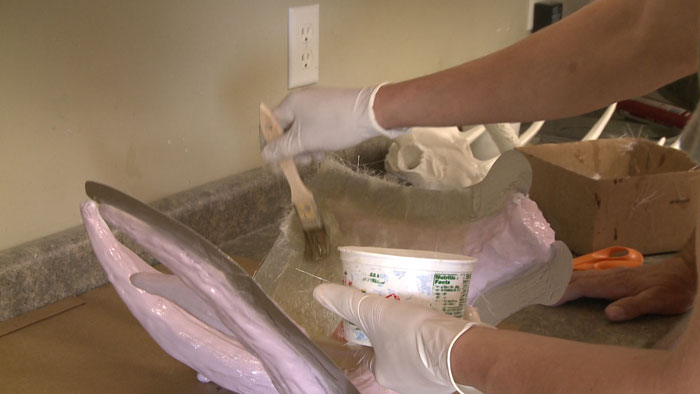
Step 1 - Applying the first coat of Rubber
After a release agent is applied to the antlers for the rubber to remove easily, a think first layer of rubber is applied to all surfaces of the antler. This layer preserves the finest details of rack such as the ridges, beading and vein channels that give the antlers their character.
Step 2 - Applying additional layers of rubber
After the blue, first coat is applied and hardened, subsequent layers of thicker rubber are applied. It is the rubber that creates the mould that will be used later for pouring.
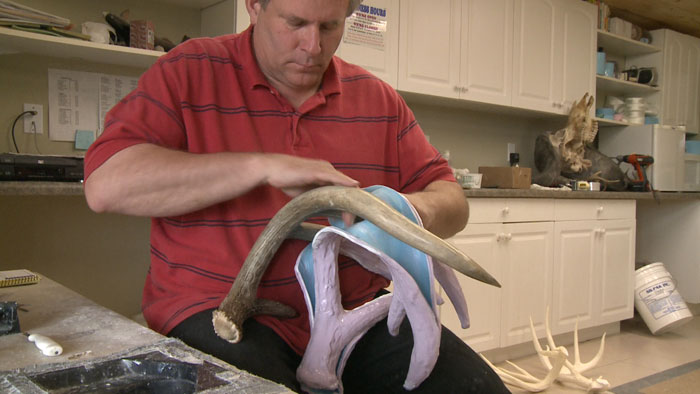
Step 3 - Creating the Fiberglass Jacket
The rubber itself can not be poured, the mould requires a hardened jacket to maintain the exact shape of the antlers. This is done by applying fiberglass over the rubber mould to maintain the shape and provide rigidity to the form.
Step 4 - Trimming the Jacket
After the entire mould including the fiberglass is hardened, the rough fiberglass jacket is trimmed, drilled and cleaned. Obviously, great care must be taken to ensure the original rack inside the jacket is not harmed in any way.
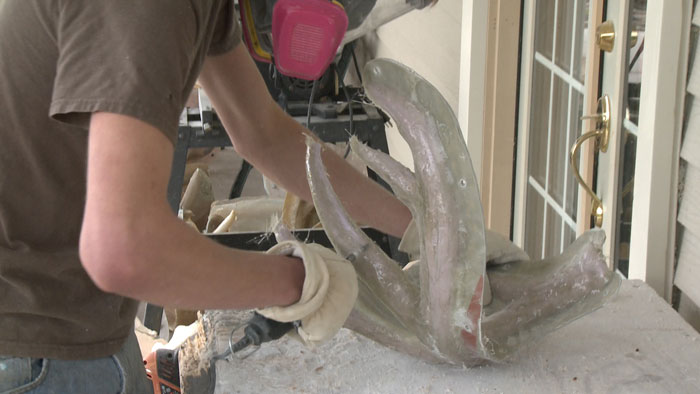
Step 5 - Removing the Jacket
After the jacket is trimmed it is carefully separated into a top and bottom half.
Step 6 - Cutting the rubber mould
The rubber mould is now carefully removed from the original antler. This step requires precise and delicate cutting so the original antler is not scratched by the cutting blade.
Step 7 - Removing the rubber mould
Once the rubber mould is cut, it is carefully removed from the antler. Once this is complete, there is no longer any need to work with the original.
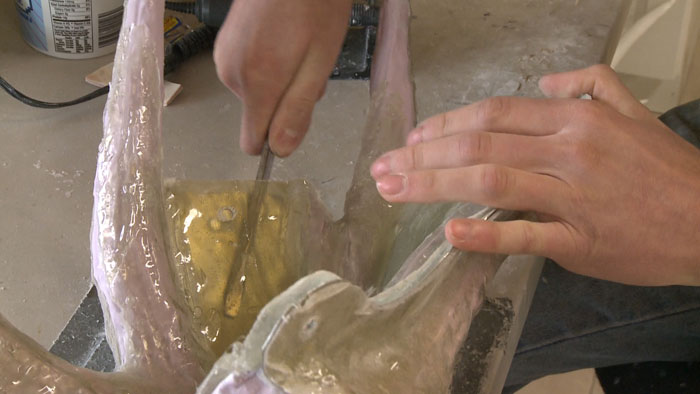
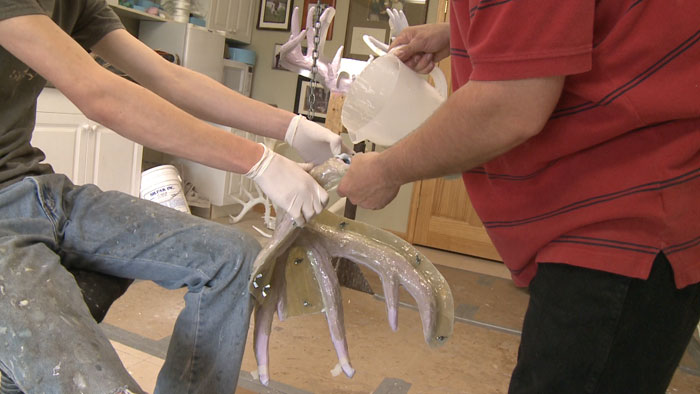
Step 8 - Assembling and pouring the mould
The empty rubber mould is carefully placed back in it's fiberglass jacket and bolted together to maintain the proper shape. The mould is hung upside down by the pedicle and a plastic resin is poured into the mould.
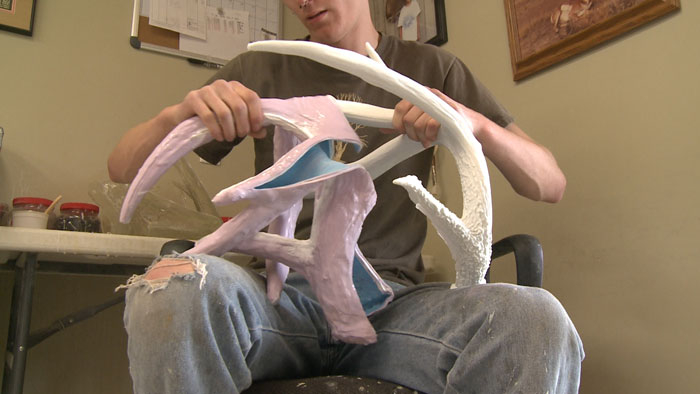
Step 9 - Removing the reproduction
Once the resin has sufficiently hardened, the fiberglass jacket is carefully unbolted and the rubber is removed from the antler. The jacket and mould may be used again to create additional copies of this antler.
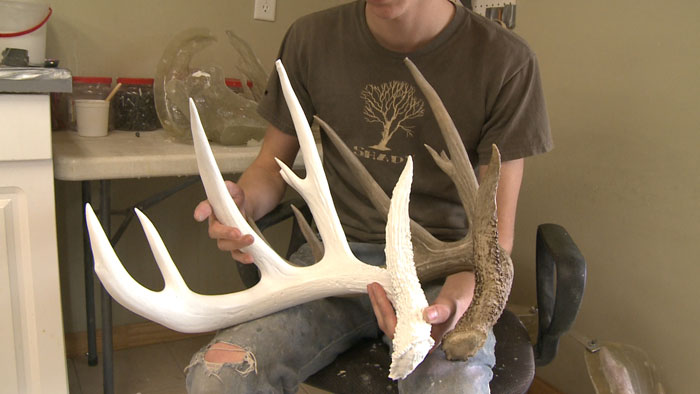
Step 10 - Inspection and clean up
The pouring process creates some small plastic ridges which are cleaned up easily. The reproduction is now ready for the coloring process.
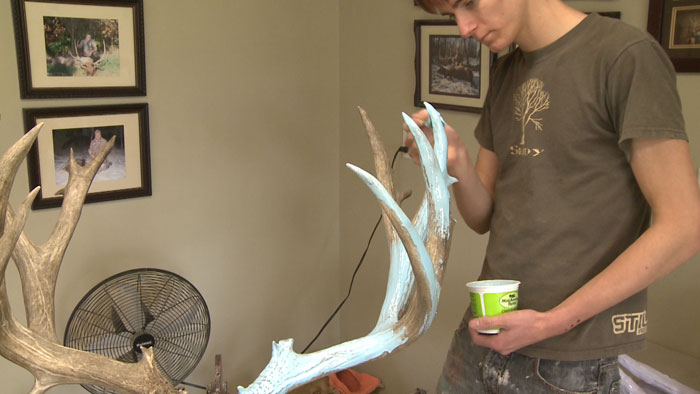
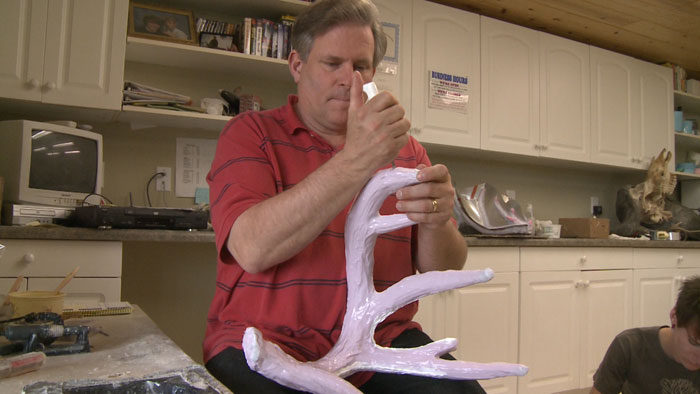
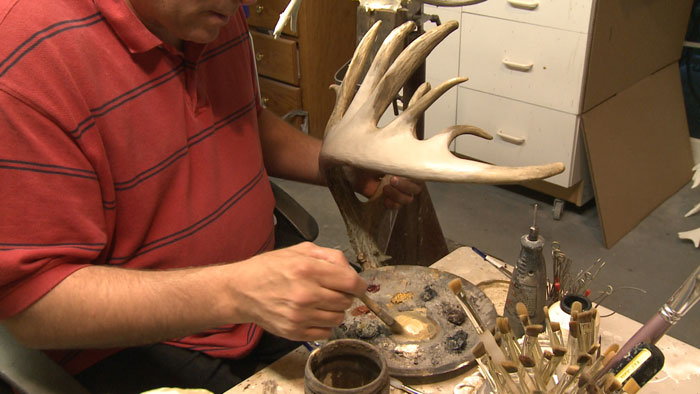
Final Step - Coloring
Using the original antler as a guide, Klaus mixes the colors which will reproduce this antler.
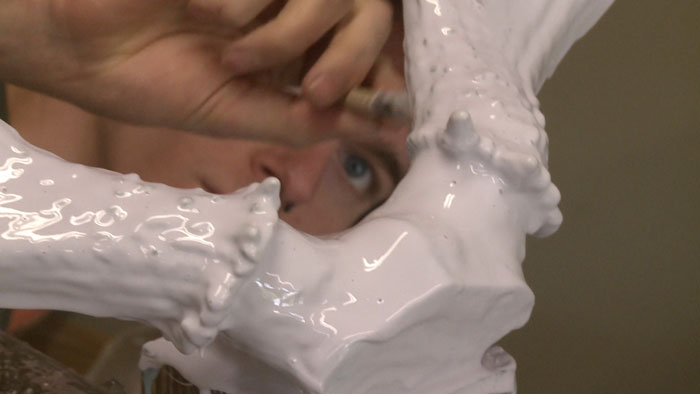
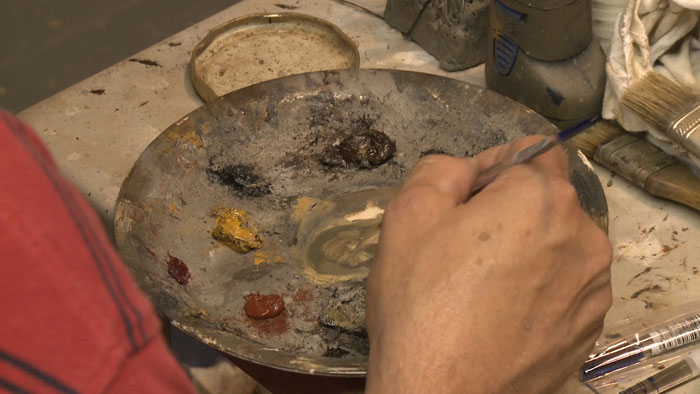
Final Step - Coloring Continued
Like watching Picaso create a masterpiece, the painting process is nothing short of pure artistry. Here Klaus dabs his brush with a mixture of colors from his palette.
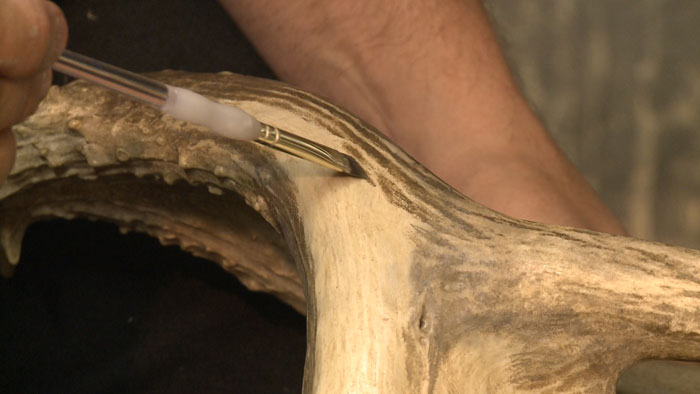
Final Step - Coloring Continued
Every line and character is painstakingly reproduced to bring out the character of every antler. Obviously, no two are every alike.
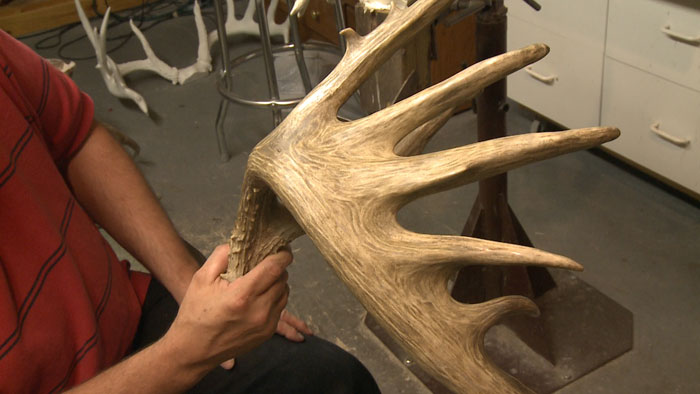
Process Complete
The finished antler represents more a work of art. Not only down to it's color, but also weight and density as well.
Video of the Process
Part 1 - Creating the Mould
Part 2 - Coloring Process
About Classic Antlers
Artistic Antler's roots started in the 1980's, by artist and
whitetail enthusiast Klaus Lebrecht in western Wisconsin. At the time, Klaus
was a free lance artist and an aspiring taxidermist looking to improve his
skills and opportunities in the taxidermy business. He turned to master
taxidermist, Joe Meder in Iowa for instruction. While under Joe's tutelage,
Klaus was introduced to the world of antler reproductions. It was love at
first sight! Here was the perfect opportunity to combine Klaus's two great
passions in life, art and antlers.
The process of making antler replicas was still in its
infancy. Klaus knew that he needed to make improvements in order to achieve
the level of quality that would be acceptable to his artistic eye. It took
over six months of trials with new materials and processes until he produced a
replica that achieved the realistic look that he has become famous for. He
launched his new venture under the name of Awesome Antlers.
Clients soon came in droves after seeing the life-like
realism of these quality antler reproductions. The client list included Cabela's,
Bass Pro Shops, NRA and the National Turkey Federation. Awesome Antler replicas
were commissioned for Whitetail World, a whitetail museum in Arkansas. In
addition, Awesome Antlers was featured on a TV program sponsored by "North
American Hunting Club."
While the success of Awesome Antlers continued to climb, but
unfortunately not so for Klaus. Due to a serious illness, he was forced to sell
Awesome Antlers. While his business may have left him, his heart never left the
business. Years later, sufficiently recovered, he and his wife Nola were able
to buy back Awesome Antlers and several other antler replicating companies. Combining them altogether created the largest trophy antler replicating company
in the United States today-Classic Antlers!
But quantity never surpasses quality at Classic Antlers. Every antler product is handcrafted and examined for quality standards prior to
shipment. The high quality standards set forth by our founder, Klaus Lebrecht
in the beginning are still in place today. While being the largest offers your
customers the opportunity to find what they are looking for, Artistic Antler's
real goal is to offer them the finest!