How to take incredible wild turkey photos
This simple trick will make those turkey photos magnificent
In my opinion, the wild turkey is the most breathtaking of all the wild game we can shoot. The brightly saturated (blue and red) head, iridescent back feathers, and the lines and patterns of a mature Tom's fan and wings makes it simply spectacular.
Yet, nearly every photo I see is a black blob of feathers – and a giant hunter hovering over it. I shot this photo below to show you a typical turkey kill photo that looks like crap.
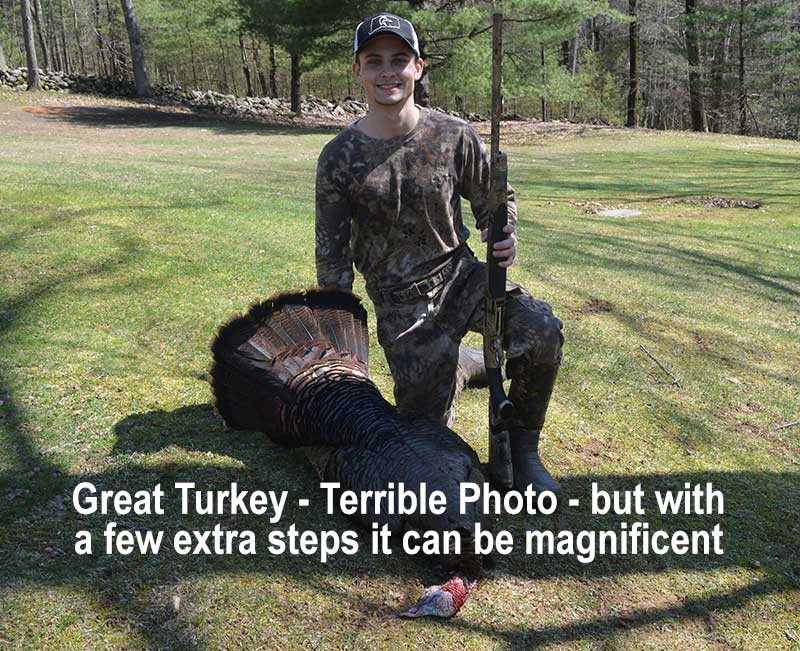
I get a lot of compliments when I kill turkeys. People think they're all giant toms, but in all honesty, very few are anything more than average. The difference lies in the photo - and a trick I have perfected over the last several years of photographing turkey kills.
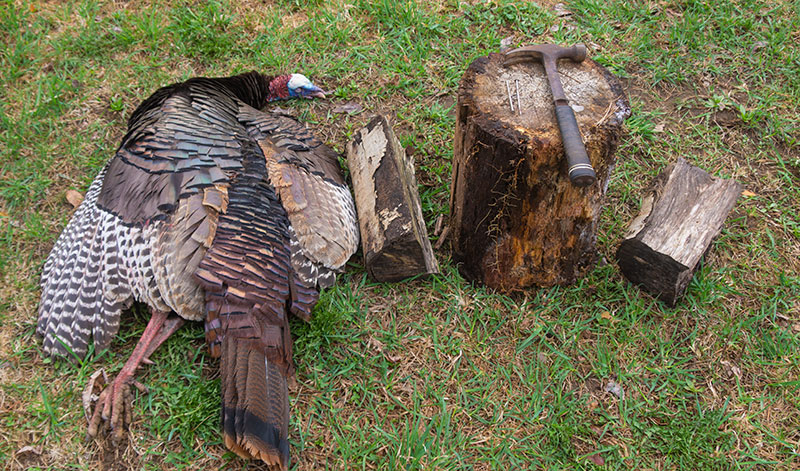
Materials needed
The best part of taking a perfect turkey photo is that everything you need - you already own. At the very least, they are easy to get. You need a hammer, two common nails, an 18-20" tall round log that's 12-15" in diameter, and two small 12" pieces of split firewood.
Setting up your turkey for the photo shoot
The first thing you need to do is to take care of your turkey. Take your photos in the field as soon as possible after killing it. It's possible to work with a turkey after Rigor mortis sets in but it's far easier getting him posed before that happens. If you need to take your turkey home in the back of your truck, put it in a black plastic bag to keep the wind from destroying the feathers. If it's raining, keep the turkey dry. A wet turkey will never photograph well.
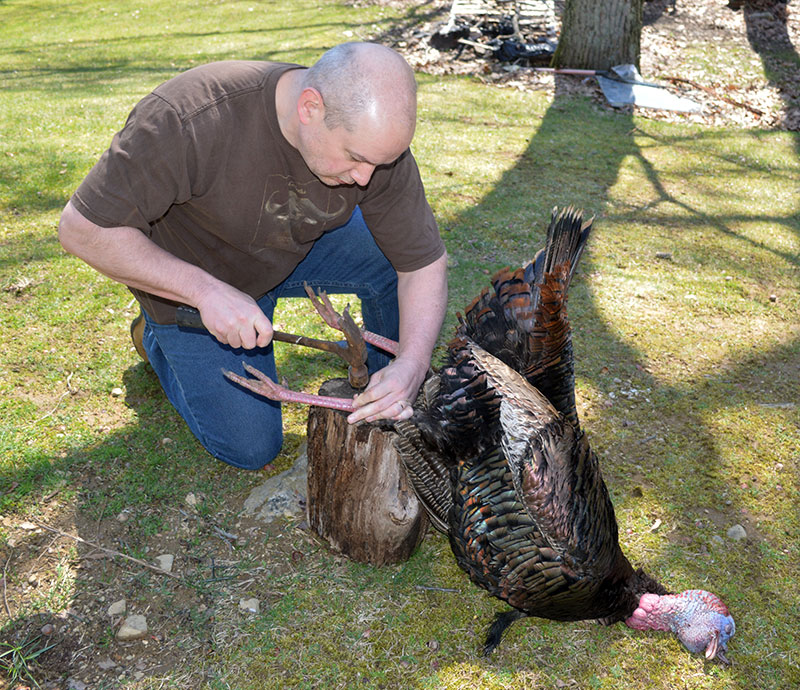
With your stump standing upright, take your Tom and bend the hind legs over the round log. It should be balanced, and big enough to hold up the turkey all by itself. Turn each leg above the knee joint and pound a nail between the leg bones and the joint above the knee straight onto the flat top surface of the log. Do this for each leg. If your stump is big enough, and your ground is level, the Gobbler should hang there without any assistance.
With your tom hanging off the log, now take your two pieces of split firewood and place them behind each wing, pushing them forward so they are even with the back of the turkey.
Take the Tom's head and move it off to one side and pull the beard in the opposite direction.
Posing yourself
With your Tom ready to go, you need to position yourself behind the Log and the turkey. The very best part of having the tom nailed to the log is that it leaves both hands free. You can hold up your bow (or shotgun) with one hand while the other hand spreads out the fan. You can do this by pulling down either the left or right feather, or you can dramatically spread the fan out by using your thumb and pinky.
Camera settings (optional)
There's not enough space in this article to go through all the combinations of camera settings so I'll keep this very simple. First, early morning photos are always better than full overhead sun. That pretty much holds true for all photos. If the sun is high overhead, move into the shade. Bright sun washes out the feathers and colors.
Second, use a flash. Outside of my trick with posing turkeys over a log, using a flash is the other secret to getting incredible turkey photos. If you are using a DSLR camera, use the setting 'Fill Flash' and if you are using an iPhone or Android, turn on your flash so it goes off every time – not just when the camera thinks it needs it. The flash will make turkey feathers 'pop' and illuminate all the colors on your turkey.
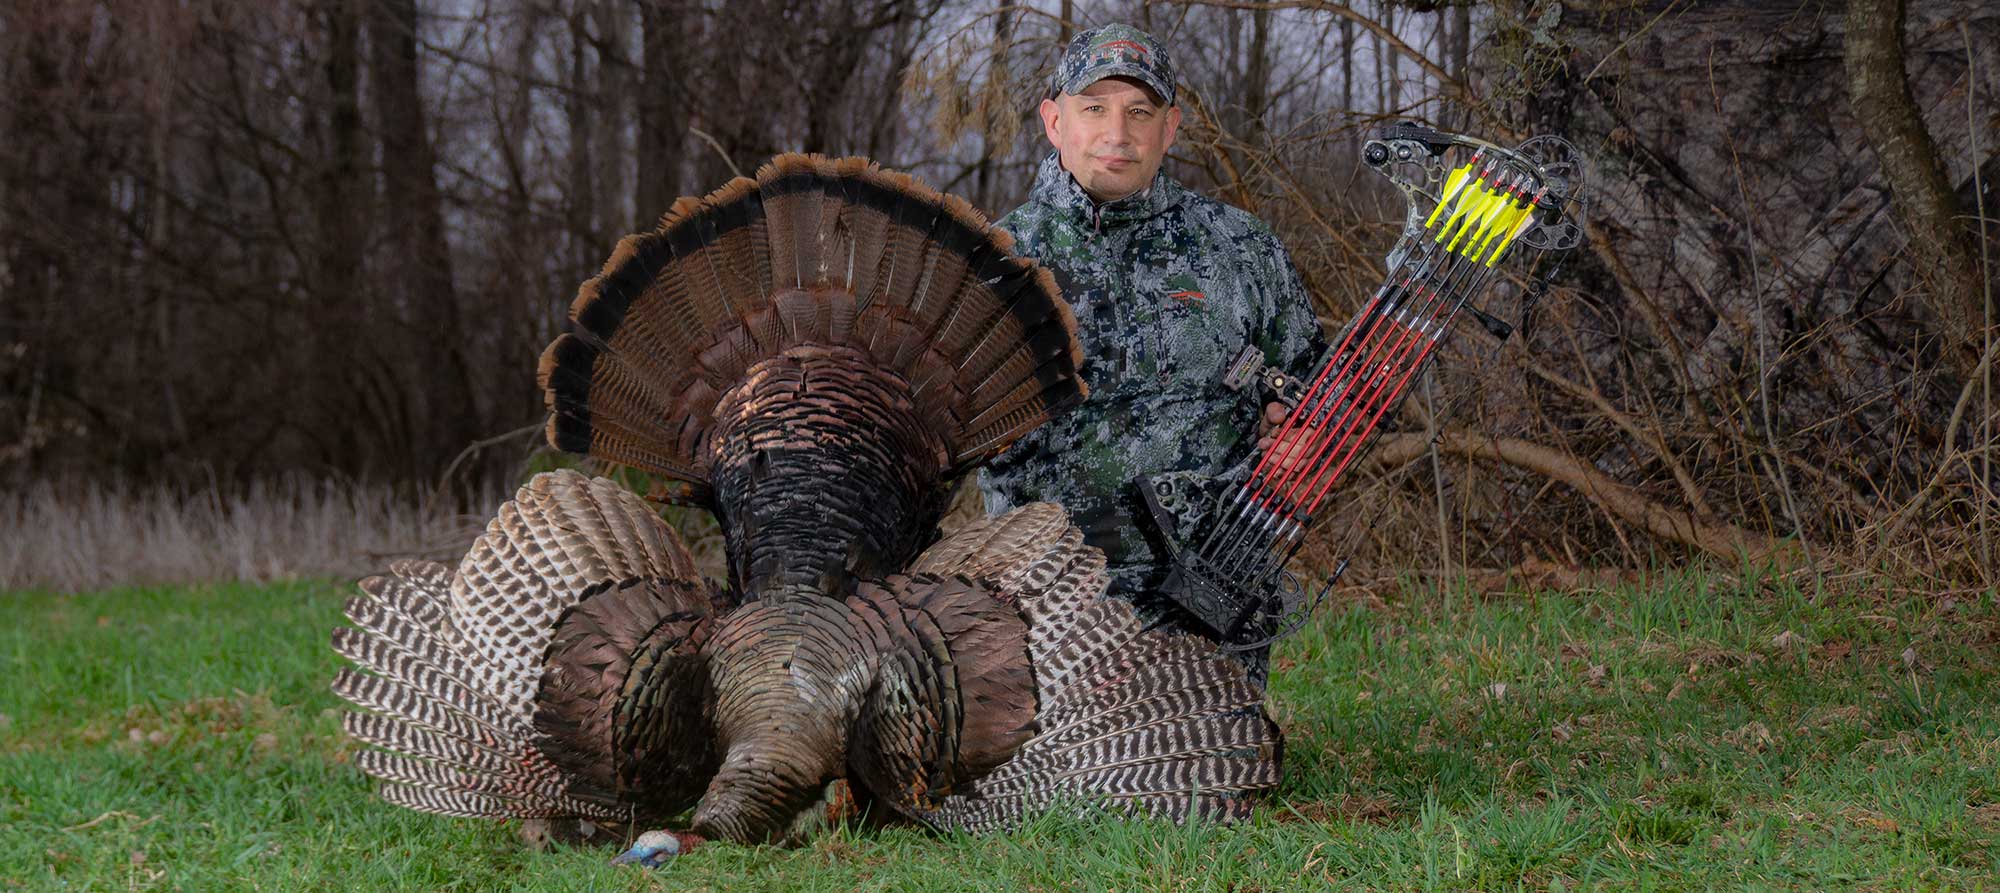
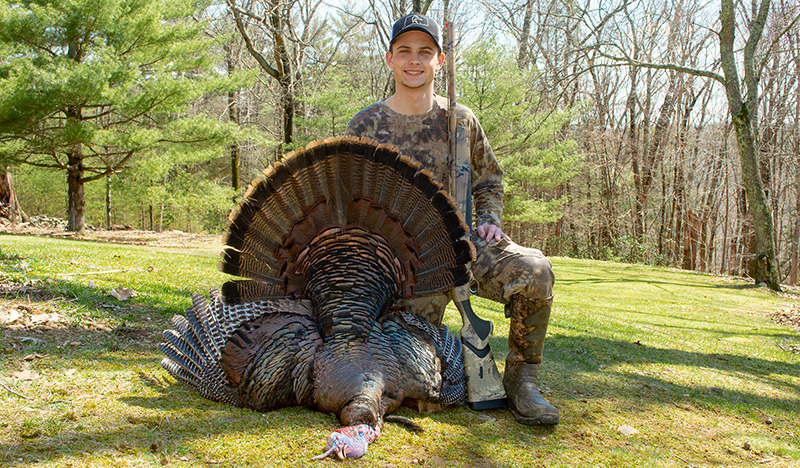
Just last week my son Pat took his friend hunting and called in an absolute giant Tom. The young man shot it and was hooked! My son asked me to photograph it and I was happy to do it. I used the exact same process above with a Nikon DSLR with a fill flash. You can see the result below.
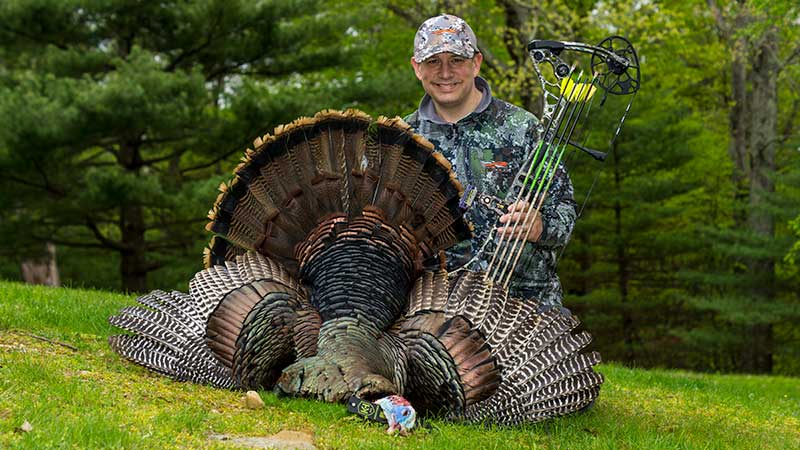
And just this week, I shot my 5th gobbler on my land in NY. It started raining so I set up the turkey quickly and snapped this photo with the blind in the background. The photo process took no longer than 20 minutes and I have a photo that will last a lifetime.
So, try it, and make sure you post the photo here on Bowsite.com!