Bowsite.com
The Nation's Leading Bowhunting Website

|
|
|

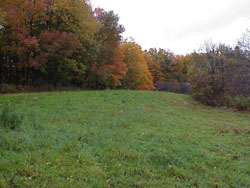
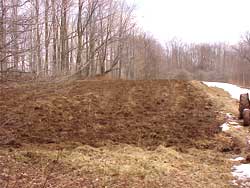
| October 7 , 2000 | April 1 , 2001 |
|
 |
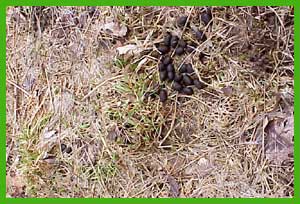
The last time we visited the food plot it was during the October bowhunting season. The plot was pretty well wiped out so we took a soil sample and planned on installing a fresh plot in the spring.
Our soil pH at the beginning of this project was quite acidic at 4.6. There was also little in the way of soil nutrients. After 3 years of liming and fertilizing the results were much different. The test came back with a consistent 6.5 pH at 3 different locations, and our soil tested extremely rich for nutrients (almost too rich). This was good progress:
Change in Soil Composition in 3 years March 1997 4.6
very low 8000 lbs/acre of lime, fertilizer and boron October 2000 6.5 very high 1000 lbs/acre of lime, no fertilizer
The first thing we did was to plan our plot. We decided not to lime at this time but rather wait and lime in late spring. This decision was made simply because the ground was too soft and wet to get the lime to the plot. Due to the nutrient recommendations, it was not necessary to fertilize - over
fertilization is as bad, or worse, than no fertilizer. Besides, plowing under the existing vegetation would create organic fertilizer by itself.
We bought one bag of Imperial Whitetail Clover. While we were tempted to try some of the newer plot seeds available, we've had good results with Imperial Clover and decided to stay with that.
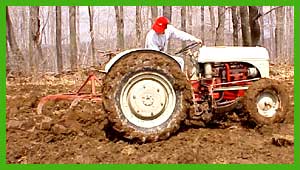
Step 1 - The first step was to plow under the existing vegetation. For this we used a double bottom plow attached to our Ford 9N tractor. While plowing under will certainly help to break up the soil and to kill off some of the weeds, the best method would have been to spray an herbicide throughout the growing season. This was not feasible for us because the plot was several hundred miles away.
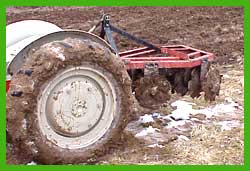
Step 2 - The second step was to disk and for this we used a 4' disker. It took several passes for the disker to run smoothly across the soil surface but the results were good.
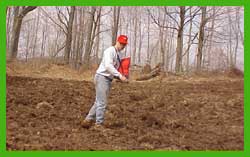
Step 3 - The third step was to spread the seed. We purchased a bag seeder which worked great. It holds 15lbs of seed at a time. While I would not recommend this for larger seeds like cowpeas, it works well for the tiny seeds like clover. I used a very narrow opening and made several passes along the same grid to ensure a consistent spread pattern.
Step 4 - The final step was to simply drive over the plot, pressing the seed into the ground. You could use a roller or a cultipacker for this but simply driving over the plot will work well too. Clover will not grow if it is buried deep in the soil. 1/4" is sufficient and driving over the seed and pressing it into the soil will accomplish this.
For information on planting your food plot, along with supplemental minerals and plot seeds - please visit deerclover.com, a Bowsite.com sponsor.